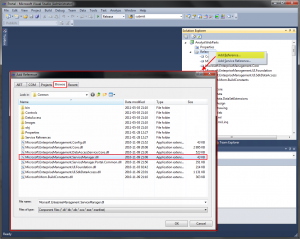
Part 1 – Preperations: http://www.scsm.se/?p=398
Disclaimer: I’m not a developer and this is all new to me as well. All code is provided “as is” and I do not give any warranties or take any responsible for any errors that might occur.
–
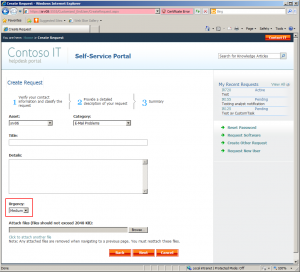
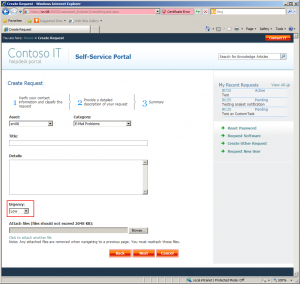
So in this post we’re going to do our first modifications to the SSP, and the goal of todays post will be to change the default value of the urgency dropdown to Low (the defualt out-of-the-box value is Medium).
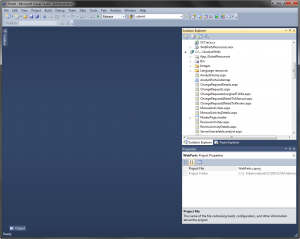
- Start Visual Studio and open the Portal.sln that was extracted from the PortalSource-New.zip in step 5 in Part 1 of the series.
- Next we need to locate the file in which the code related to this dropdown is stored. With the help of the documentation that was bundled with the source code (System Center Service Manager 2010 Custom Portal Development.docx), I managed to figure out that it is stored in the file named CreateRequest.cs.
- So browse the Solution Explorer on your right hand side of Visual Studio for CreateRequest.cs. It should be located at WebParts/Request/CreateRequest.cs. When you found the file, double click it to open it up.
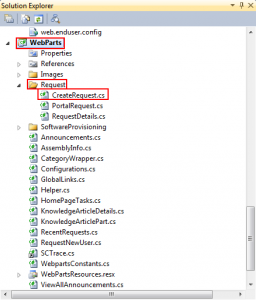
- Most of the code related to the “Create Other Request” wizard is located in this file. Unfortunately there is more than 2600 lines of code in this file, so what should we do to find the part regarding the urgency dropdown? Let’s start with searching for the word “Urgency” (Hit Ctrl+F to open up the search window). Our first search should bring you to a line of code that says:
private Label urgencyHeaderLabel;
This is the declaration of a variable that seems to be the label of the Urgency part of the wizard. But what’s more interesting, is the line below:
private DropDownList urgencyDropDownList;
Great! Now we found the declaration of what looks like the dropdown menu of Urgency. Now let’s continue to search, but this time search for “urgencyDropDownList” instead.Our first hit of “urgencyDropDownList” is actually where the control itself is added to the wizard. But there’s no hints regarding the default value…
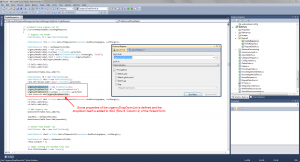 It turns out, that there’s plenty of code regarding the urgencyDropDownList, but continue to search until you hit line 2213 (current line is showed in the bottom right hand corner in the status bar, displayed as “Ln”).
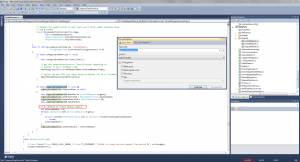
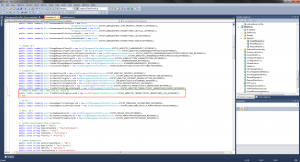
Now that’s a great hint! Thanks for putting those comments in the code Microsoft! 🙂
- Take a look at the picture below. I’ve tried to explain the code within the picture. However, the key part of this modification, is to change the part of the code that says:
if ((Guid)item[DataItemConstants.Id] == Constants.TroubleTicketUrgencyMediumId)
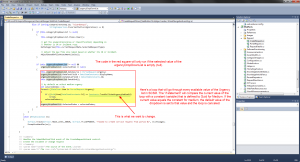 Unfortunately,we can’t just replace the Constants.TroubleTicketUrgencyMediumId with Constants.TroubleTicketUrgencyLowId. We need to define Constants.TroubleTicketUrgencyLowId first.
 - So where and how should we declare this constant? Let’s take a look at how Microsoft have declared TroubleTicketUrgencyMediumId. To do so, click the word “TroubleTicketUrgencyMediumId” once to put your marker on it, then press F12 which will bring you to the definition of this variable.That should take you to the Constants.cs file and to a line that looks like this:
public static readonly Guid TroubleTicketUrgencyMediumId = new Guid(ManagementPackReferences.SYSTEM_WORKITEM_TROUBLETICKET_URGENCYENUM_MEDIUM_REFERENCE);
So the declaration of TroubleTicketUrgencyMediumId is done here, but is referenced to another constant? Click SYSTEM_WORKITEM_TROUBLETICKET_URGENCYENUM_MEDIUM_REFERENCE to put your marker there, and press F12 to go to the definition…
public const string SYSTEM_WORKITEM_TROUBLETICKET_URGENCYENUM_HIGH_REFERENCE = "2F8F0747-B6CB-7996-FD4A-84D09743F218";
public const string SYSTEM_WORKITEM_TROUBLETICKET_URGENCYENUM_LOW_REFERENCE = "725A4CAD-088C-4F55-A845-000DB8872E01";
public const string SYSTEM_WORKITEM_TROUBLETICKET_URGENCYENUM_MEDIUM_REFERENCE = "02625C30-08C6-4181-B2ED-222FA473280E";
Aha. In the ManagementPackReferences.cs within the Microsoft.Mom.BuildConstants.dll, the Out-of-the-box GUIDs for the different levels of urgency is stored.
- With this knowledge, let’s get back to the Constants.cs file, and add a new constant for Low urgency. Add a new line undernethe line 55, and enter:
public static readonly Guid TroubleTicketUrgencyLowId = new Guid(ManagementPackReferences.SYSTEM_WORKITEM_TROUBLETICKET_URGENCYENUM_LOW_REFERENCE);
- Now get back to the CreateRequest.cs file and change Constants.TroubleTicketUrgencyMediumId to Constants.TroubleTicketUrgencyLowId on line 2225. This will work because we have defined a value for TroubleTicketUrgencyLowId in the constants.cs file now.
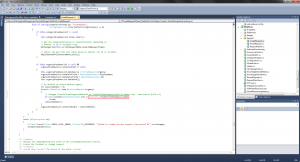
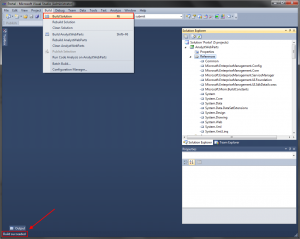
- That should be all coding required for this change. So press F6 to build your solution, and make sure that you get Build Succeeded in the lower left hand corner of the screen.
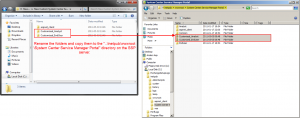
- Head to the directory in which the project is stored, and locate the ..\End User Portal\bin folder. In that folder, find and copy all .DLL files that was updated when you built your solution.
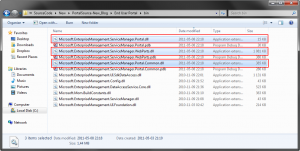
- Now head to the SCMS SSP server, and paste those .DLL files in the C:\inetpub\wwwroot\System Center Service Manager Portal\Customized_EndUser\Bin directory. You will get prompted with a question asking if you would like to overwrite the current .DLLs, answer Yes.
- Open Internet Explorer and browse to your Customized_EndUser. Click the “Create Other Request” button followed by Next. Step 2 of the wizard should now be displayed, and so should the Urgency dropdown. The default value should now be set to Low.
- And that’s it! We are done for today 🙂
I’d love any comments regarding this. Is these types of articles helpful? Are they too easy? Too hard? Are there any kind of minor modifications you would like me to post about?
