It’s finally in the stores! 🙂
AdLibris (Swedish site):
http://www.adlibris.com/se/product.aspx?isbn=1849686947
A big thanks to Sam, Andreas, Steve and Dieter for a job well done! It was a pleasure working with you all!
It’s finally in the stores! 🙂
AdLibris (Swedish site):
http://www.adlibris.com/se/product.aspx?isbn=1849686947
A big thanks to Sam, Andreas, Steve and Dieter for a job well done! It was a pleasure working with you all!
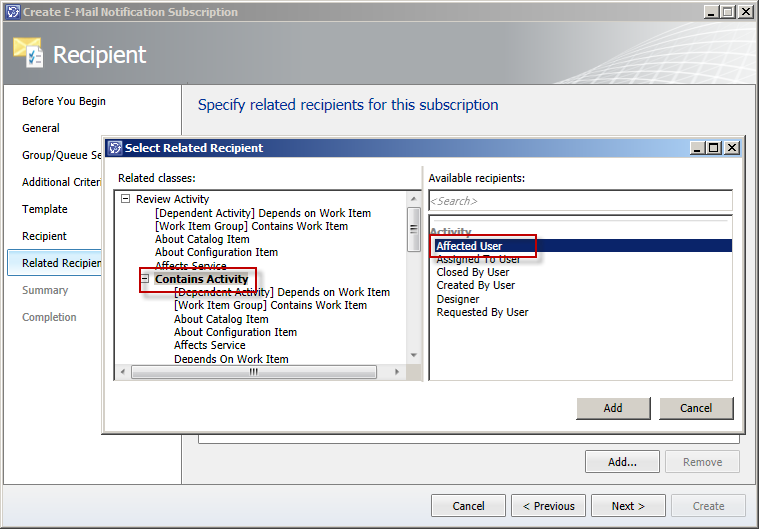
Ever tried sending a notification to Affected User of the parent Work Item of an Activity when the Activity is updated? When trying to create this subscription from the SCSM console, you are faced with this when selecting the Related Recipient:
Holy cow! You are presented with a massive ammount of relationships to choose between! I tried a couple of relationships here without any luck, and figured that it would be easier to do this in the XML code.
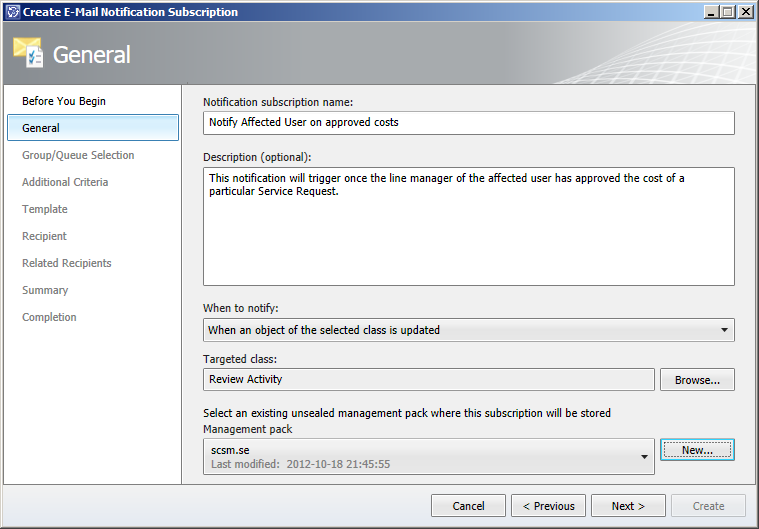
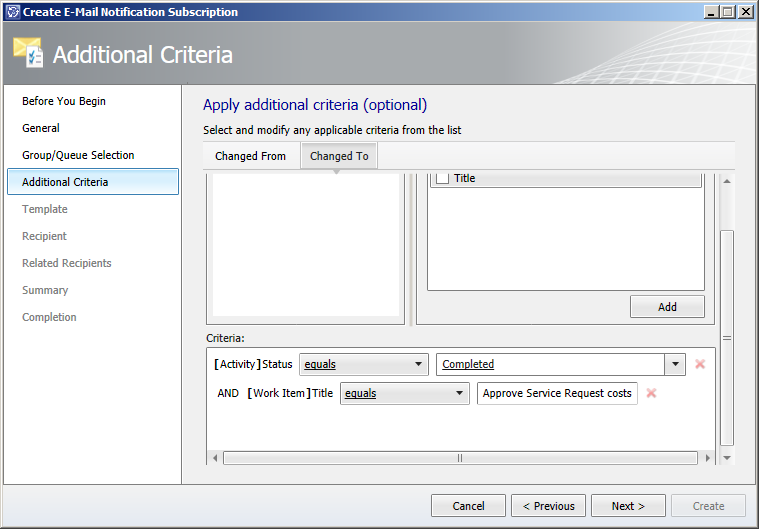
So let’s say we have a Service Request with a number of activities in it. When one of these activities are completed, we want to notify the Affected User of the Service Request that the particular activity is completed.


<WorkflowArrayParameter Name="PrimaryUserRelationships" Type="string">
<Item>$Context/Path[Relationship='CustomSystem_WorkItem_Activity_Library!System.WorkItemContainsActivity' TypeConstraint='CustomSystem_WorkItem_Activity_Library!System.WorkItem.Activity']/Path[Relationship='CustomSystem_WorkItem_Library!System.WorkItemAffectedUser' TypeConstraint='CustomSystem_Library!System.User']$</Item>
</WorkflowArrayParameter>
This is the code where we have to do some editing. We would like to reverse the Contains Acitivty relationship, so instead of looking at the Affected User of any containing acitivities of this particular Review Acitivty, we would like to select the Affected User of the Work Item in which this acivity is contained. (Hope that this make some kinde of sense?)Note: The easiest way to locate your Subscription is to search for the name you specified when it was created. This will take you to the DisplayString section where you want to copy the ElementID from the line above the subscription name. Now do a new search for this ElementID until you get to a row that starts with <Rules ID=”….
$Context/Path[Relationship='CustomSystem_WorkItem_Activity_Library!System.WorkItemContainsActivity' SeedRole='Target'
Next we need to change the Work Item type we are working with. As of now it is specified as the Acitivity class, so let’s change it to the Work Item class instead.
TypeConstraint='CustomSystem_WorkItem_Library!System.WorkItem']/Path[Relationship='CustomSystem_WorkItem_Library!System.WorkItemAffectedUser' TypeConstraint='CustomSystem_Library!System.User']$
Note: Make sure you have the reference to System.WorkItem.Library specified in you MP. I’m referring to that MP with the Alias CustomSystem_WorkItem_Library because it was already present in my MP.
<WorkflowArrayParameter Name="PrimaryUserRelationships" Type="string">
<Item>$Context/Path[Relationship='CustomSystem_WorkItem_Activity_Library!System.WorkItemContainsActivity' TypeConstraint='CustomSystem_WorkItem_Activity_Library!System.WorkItem.Activity']/Path[Relationship='CustomSystem_WorkItem_Library!System.WorkItemAffectedUser' TypeConstraint='CustomSystem_Library!System.User']$</Item>
</WorkflowArrayParameter>
And here’s the code after we edited it:
<WorkflowArrayParameter Name="PrimaryUserRelationships" Type="string">
<Item>$Context/Path[Relationship='CustomSystem_WorkItem_Activity_Library!System.WorkItemContainsActivity' SeedRole='Target' TypeConstraint='CustomSystem_WorkItem_Library!System.WorkItem']/Path[Relationship='CustomSystem_WorkItem_Library!System.WorkItemAffectedUser' TypeConstraint='CustomSystem_Library!System.User']$</Item>
</WorkflowArrayParameter>
Please post a comment if you have any questions or if you want me to clarify anything! Oh, and by the way, if any of you managed to configure this from the console, please drop a comment as well! 😛
So you’ve installed Service Manager and the SSP, you’ve added the language pack for your language and you’ve enabled that language for the SSP itself – only to discover that the translations of the different texts are pretty poor. Maybe there’s nothing wrong with the actual translation, but you would like to rephrase something or add a couple of lines somewhere.
(For those of you who want’s to know how to configure the SSP to function in another language, read this blogpost: http://blogs.technet.com/b/servicemanager/archive/2012/02/14/how-to-select-the-portal-language-in-scsm-2012.aspx )
Here’s how you change the texts:

Before editing the SilverlightModule_StringResources.SV.resx.xml
After editing the SilverlightModule_StringResources.SV.resx.xml
Note: This doesn’t seem to work for the original texts written in English even though there is an English directory (C:\inetpub\wwwroot\System Center Service Manager Portal\ContentHost\Clientbin\en).
Update 20/11-2012,
Please see this post: http://www.scsm.se/?p=986
In short: Memory issues seems to be resolved, yay 🙂
Here’s the complete patch notes (copied from Microsoft):
Read more and download UR3 here:
http://www.microsoft.com/en-us/download/details.aspx?id=34960